
Table of Contents
- Why Foot Toughening Matters for Ultramarathon Training
- The 12-Week Progressive Foot-Conditioning Plan
- How to Prevent Blisters When Running Long Distances
- Choosing Ultra Running Socks That Protect Your Feet
- How to Tape Feet for Running and Treating Hot Spots While Running
- Building Callus Correctly: Useful Protection vs. Harmful Thickening
- When Foot Pain Requires Medical Assessment
- Race-Day Foot-Care Kit and Aid-Station Strategy
- Frequently Asked Questions
Last Updated: October 17, 2026
Why Foot Toughening Matters for Ultramarathon Training
Ultramarathons demand more from your feet than any other endurance event. A 50-miler exposes every weakness in your preparation. Blisters form where you didn't expect them. Hot spots emerge at mile 30.
Most runners treat foot care as an afterthought. They buy good socks, maybe add some tape, and hope for the best. That approach fails because it skips the foundation.
The 12-Week Progressive Foot-Conditioning Plan
The best way to toughen feet ultramarathons follows a three-phase progression. You start with low-impact loading. You gradually increase volume and terrain difficulty. By week 12, your feet are ready for race-day demands.
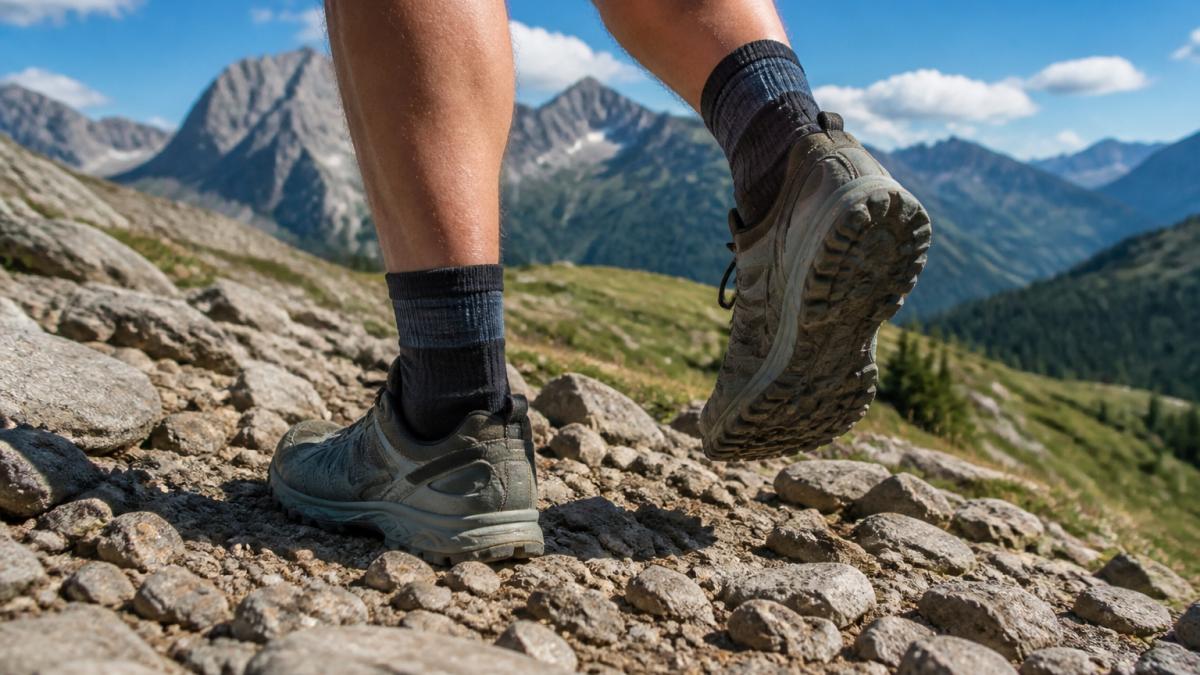
Weeks 1-4: Building Skin Strength Through Gradual Load
Start here. Your skin needs time to adapt before you push it hard. This phase builds the foundation.
Week 1-2: Easy mileage on familiar terrain
- Run 3-4 times per week
- Keep distances under 8 miles
- Stick to smooth trails or roads
- Focus on consistent effort, not speed
- Wear socks that wick moisture effectively
Week 3-4: Introduce varied terrain
- Increase to 4-5 runs per week
- Add one run on rocky or technical terrain
- Push one run to 10-12 miles
- Start noticing where friction occurs
- Switch socks if you feel hot spots forming
During these weeks, your skin begins thickening in high-friction zones. You're not creating callus yet, you're preparing the skin to accept load without tearing. Most runners skip this phase and pay for it later.
Weeks 5-8: Testing Gear and Managing Friction
Now you test everything. Your shoes. Your socks. Your lubricants. Your tape. Week 5 is the last chance to swap gear before race week arrives.
Week 5-6: Test socks and lubrication
- Wear different sock types on different runs
- Try various lubricants (Vaseline, specialized foot lubricants)
- Document what works and what doesn't
- Increase long run to 15-18 miles
- Run 4-5 times per week
Week 7-8: Add taping and race-simulation runs
- Test tape on high-risk areas during training
- Practice your race-day foot-care routine
- Run back-to-back long runs (Saturday 18 miles, Sunday 12 miles)
- Identify any remaining problem areas
- Stick with what works, don't experiment on race day
By week 8, your feet have logged significant mileage. The skin is tougher. Callus has formed where it should. You know your weak points and how to protect them.
Weeks 9-12: Race-Specific Preparation and Recovery
This phase tapers volume while maintaining intensity. Your feet stay sharp without accumulating fresh damage.
Week 9-10: Reduce volume, maintain intensity
- Drop to 3-4 runs per week
- Long run stays 16-18 miles
- Add one speed workout
- Continue testing race-day procedures
- Let minor irritations heal
Week 11-12: Final taper
- Week 11: 3 runs, longest is 12 miles
- Week 12: 2 easy runs before race day
- Rest days are critical, don't run hard in the final week
- Review your race-day foot-care kit
- Mentally rehearse your aid-station routine
Your feet should feel strong, not fresh. There's a difference. Fresh feet haven't adapted. Strong feet have logged the work and recovered properly.
How to Prevent Blisters When Running Long Distances
Blisters form when friction exceeds your skin's ability to withstand it. Prevention means controlling friction at every stage: before the run, during the run, and after the run.
The three-part blister prevention system:
-
Reduce friction before it starts, Use lubricant on high-risk areas. Vaseline works. Specialized foot lubricants work better because they stay in place longer. Apply before the run, not after you feel a hot spot.
-
Manage moisture, Wet skin blisters faster than dry skin (pubmed.ncbi.nlm.nih.gov). Moisture-wicking socks pull sweat away from your feet. Cotton socks hold moisture. The difference is dramatic over 30+ miles.
-
Protect hot spots early, A hot spot is friction before a blister. Tape it immediately. Don't wait. The moment you feel heat on your heel or between your toes, stop and tape it.
Most runners focus only on part three. They tape after damage starts. By then, the blister is forming. Prevention means catching friction before it becomes pain.
Choosing Ultra Running Socks That Protect Your Feet
Your socks are your first line of defense. The wrong socks guarantee problems. The right socks make everything easier.
What to look for in ultra running socks:
- Moisture-wicking material, Pulls sweat away from skin. Keeps feet dry even after hours of running.
- Reinforced heel and toe, High-impact zones need extra protection. Thin socks fail here.
- Seamless or flat seams, Raised seams create friction points. Flat construction prevents hot spots.
- Debris protection, For trail running, a cuff that blocks dirt and gravel makes a real difference. When rocks get inside your shoe, they rub constantly.
- Non-slip construction, Your sock should stay in place. Slipping socks cause blisters.
RockResist GEN1 Trail Running Socks are built for this exact scenario. The debris-blocking barrier keeps grit out where it usually sneaks in at the shoe collar. The reinforced heel reduces friction at the collar.

For ultramarathons, consider stocking multiple pairs. The RockResist Trail Running Sock Bundle gives you three pairs for $67.50, a 25% savings compared with buying individually. Rotate pairs during training so each one has time to dry properly between runs.
How to Tape Feet for Running and Treating Hot Spots While Running
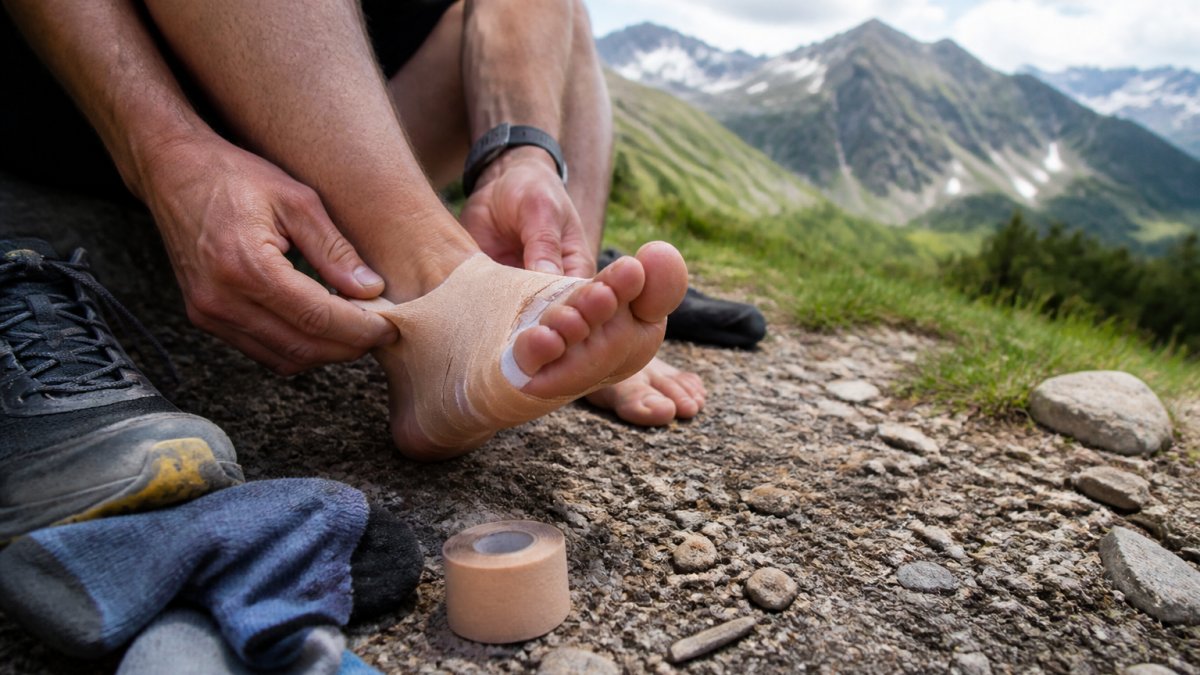
Tape is your emergency tool. It stops friction before blisters form. The right technique matters.
Taping Techniques for High-Risk Areas
High-risk zones on ultramarathon feet:
- Heel (where the shoe collar rubs)
- Ball of foot (impact zone)
- Between toes (moisture traps)
- Sides of toes (pressure points)
How to tape for maximum protection:
RockResist GEN1 Trail Running Socks, Debris-Blocking Low Cut →
- Clean and dry the area completely. Use isopropyl alcohol if available. Dry skin holds tape better.
- Apply benzoin or a skin protectant. This helps tape adhere and protects skin.
- Cut tape strips in advance. Don't fumble with tape mid-run.
- Apply tape firmly but not so tight it cuts off circulation.
- Test the tape during training. Race day is not the time to discover tape fails.
Zinc-oxide tape works well because it stays in place during sweating. Avoid athletic tape designed for ankle support, it's too thick and shifts during running.
Treating Hot Spots While Running: On-Trail Care
A hot spot is friction that hasn't become a blister yet. Treat it immediately.
On-trail hot spot protocol:
- Stop and remove your shoe and sock.
- Inspect the area. Is the skin red but unbroken? That's a hot spot.
- Apply lubricant generously.
- Tape over the area if you have tape with you.
- Put your sock back on and continue.
This takes 2-3 minutes. It prevents a blister that could end your race. Most runners skip this step and regret it at mile 40.
Carry a small kit in your pack: tape, lubricant, and alcohol wipes. Aid stations may have supplies, but don't rely on it. Bring what you know works.
Building Callus Correctly: Useful Protection vs. Harmful Thickening
Callus gets a bad reputation. Some callus is protective. Some is harmful.
Good callus forms gradually in response to friction. It's firm but not thick. It protects underlying skin without cracking.
Bad callus is thick, dead skin that builds up unevenly. It cracks under pressure. It traps moisture.
The difference comes down to progression. If you add mileage slowly, callus develops evenly and stays protective.
During your 12-week plan, you'll develop useful callus naturally. Don't try to accelerate it.
After the race, if you have thick callus, gently exfoliate during recovery.
When Foot Pain Requires Medical Assessment
Not all foot pain is normal. Some pain signals a serious problem.
Seek medical evaluation if you experience:
- Sharp, localized pain that doesn't improve with rest
- Swelling that doesn't go down after a day
- Pain that worsens during a run and doesn't recover
- Numbness or tingling in your toes
- Signs of infection (redness, warmth, pus)
- Pain that changes your gait or running mechanics
These symptoms suggest stress fractures, nerve compression, tendinitis, or infection. Running through these problems makes them worse. Get evaluated before race day.
A sports medicine doctor or podiatrist familiar with endurance athletes understands ultramarathon demands. They can assess your feet, identify weaknesses, and recommend targeted strengthening or modifications.
Minor blisters, hot spots, and soreness are normal. Structural pain is not. Know the difference.
Race-Day Foot-Care Kit and Aid-Station Strategy
Race day is not the time to experiment. You execute the plan you've trained.
Essential race-day foot-care kit:
- Fresh socks (at least 2 pairs)
- Lubricant (Vaseline or specialized foot lubricant)
- Tape (pre-cut strips in a small bag)
- Alcohol wipes or isopropyl alcohol pads
- Benzoin or skin protectant
- Blister treatment (if you use one)
- Small towel or bandana
Aid-station foot-care procedure:
- Stop at your planned aid stations (every 10 miles if possible).
- Remove your shoe and sock. Inspect your feet.
- If you see a hot spot, clean the area, apply benzoin, tape it, and change socks.
- If your current socks are wet and you have fresh ones, change them.
- Apply lubricant to any areas showing early friction.
- Put your shoe back on and continue.
This takes 5-7 minutes per stop. It's worth every second. Most DNFs from foot pain happen because runners skip this routine.
Tell your crew or aid-station volunteers what you need. They can't help if they don't know your plan. Write it on your bib or a card in your pack.
Your feet carry you 50, 100, or more miles. Treat them with the care they deserve.
Ultramarathon success starts with feet that can handle the distance. The right socks, like RockResist GEN1 Trail Running Socks with debris-blocking protection and moisture-wicking material, keep your feet dry and protected.

| Phase | Weeks | Focus | Weekly Runs | Long Run |
|---|---|---|---|---|
| Foundation | 1-4 | Build skin strength | 3-5 | Up to 12 miles |
| Testing | 5-8 | Test gear and friction management | 4-5 | Up to 18 miles |
| Race Prep | 9-12 | Maintain fitness, taper volume | 2-4 | 12-18 miles |
Frequently Asked Questions
How long does it take to toughen feet for an ultramarathon?
A progressive 12-week conditioning plan is the standard approach. Weeks 1-4 focus on building skin strength through gradual mileage increases. Weeks 5-8 involve testing gear, lubricants, and taping under race-like conditions. Weeks 9-12 emphasize race-specific preparation and recovery. Starting earlier than 12 weeks is safer, especially if you're new to ultramarathon training. Rushing the process increases injury risk and doesn't build lasting skin tolerance.
What's the difference between useful callus and harmful thickened skin?
Useful callus is firm, even, and develops gradually as a protective layer. Harmful thickening is uneven, raised, or painful, often a sign of pressure concentration from poor shoe fit or friction. Useful callus requires no treatment; harmful buildup should be gently managed with a pumice stone after soaking. Before an ultramarathon, avoid aggressive removal of protective callus. If thickened areas cause pain during training runs, address the underlying cause: shoe fit, lubricant application, or taping technique.
Should I remove calluses before an ultramarathon?
No. Protective callus built over weeks of training is your skin's natural defense. Removing it in the days before a race leaves your feet vulnerable to blisters and hot spots. If you have painful or uneven thickening, address it 3-4 weeks before race day, not in the final week. Focus the last two weeks on rest, recovery, and race-day logistics rather than foot maintenance changes.
How do ultra running socks prevent blisters and hot spots?
Ultra running socks combine moisture management, friction reduction, and targeted cushioning. Quality socks like RockResist GEN1 Trail Running Socks ($30) feature moisture-wicking materials, reinforced heel construction to reduce collar friction, and a debris-blocking barrier that keeps grit out. The barrier can be worn up for loose terrain or tucked in for a lower-profile fit. Proper sock fit and rotation, wearing fresh pairs during long runs, also prevents moisture buildup and reduces friction-related hot spots and blisters.