
Table of Contents
- Why Break-In Periods Are Necessary for Trail Running Shoes
- How Long to Break in Trail Shoes
- Start With Short Distances and Gradual Adaptation
- Preventing Blisters on Trail Runs During Break-In
- Best Socks for Trail Running Break-In
- Lacing Techniques and Fit Adjustments for Comfort
- Testing on Varied Terrain and Technical Trails
- Troubleshooting Persistent Discomfort During Break-In
- Frequently Asked Questions
Last Updated: September 18, 2026
Why Break-In Periods Are Necessary for Trail Running Shoes
Learning how to break in new trail running shoes means understanding that they need time to adapt to your feet. Your feet are unique. The shoe's materials, midsole cushioning, and upper structure are stiff when brand new. Breaking in new trail running shoes means wearing them gradually so both your feet and the shoe adjust together.

During the break-in phase, several things happen. The midsole cushioning compresses slightly and conforms to your arch. The heel counter softens and molds to your heel shape. The toe box expands fractionally. The upper material stretches where it's tight. This process takes time, rushing it causes blisters, hot spots, and foot fatigue.
Trail running creates extra stress on your feet. Uneven terrain, rocks, roots, and steep descents demand stability and support. A shoe that hasn't broken in properly will shift on your foot during technical sections. That movement causes friction. Friction creates blisters. On a challenging trail, a blister can end your run or worse, trap you far from help.
The solution is simple: give your feet and shoes time to work together before you tackle serious terrain. The solution is simple: give your feet and shoes time to work together before you tackle serious terrain.
How Long to Break in Trail Shoes
Most trail runners need 2-3 weeks to fully break in new trail running shoes. This timeline assumes gradual mileage increases and proper sock selection. Some runners adapt faster. Others need an extra week or two.
The exact timeline depends on several factors:
- Your foot sensitivity: Athletes with sensitive skin or a history of blisters may need closer to 4 weeks
- Shoe stiffness: Stiffer shoes with aggressive lugs require longer break-in than flexible models
- Previous shoe type: Switching from road shoes to trail shoes takes longer than upgrading within the same brand
- Terrain difficulty: Technical trails demand a longer break-in than smooth paths
Don't measure break-in by calendar days alone. Measure it by total mileage and comfort level. Once you can run 8-10 miles without hot spots or pressure points, your shoes are broken in.
Start With Short Distances and Gradual Adaptation
The gradual adaptation approach works better than any other method. Your body needs time to adjust. Your feet swell during runs. The midsole cushioning compresses under load. Tendons and ligaments adapt to new support patterns. Rushing this process invites injury.
Week 1: Walking and Light Activity
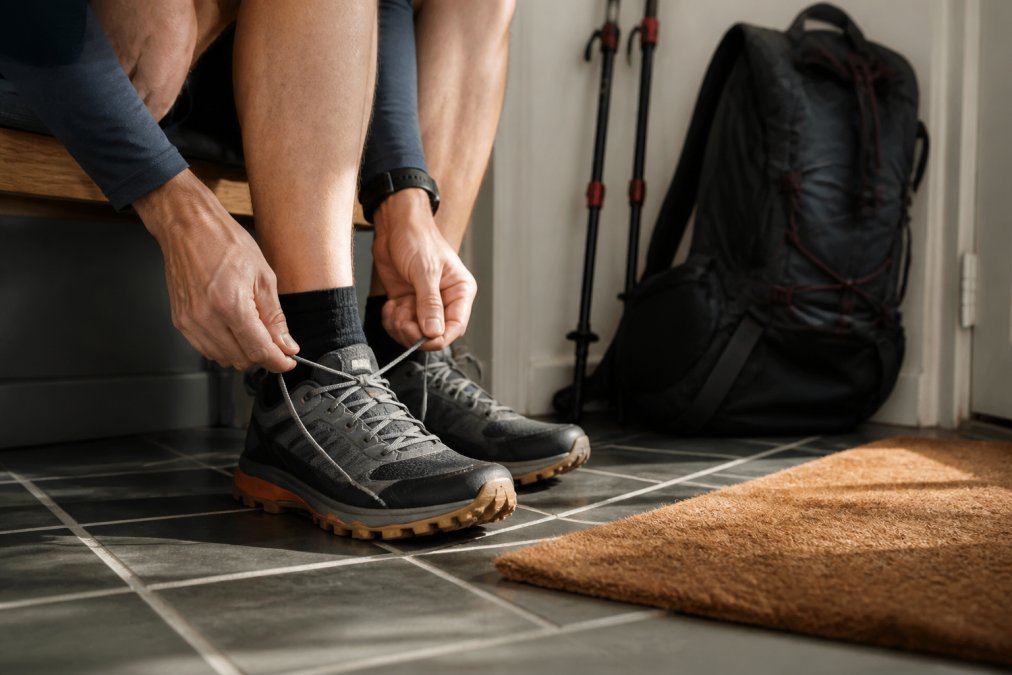
The best way to start learning how to break in new trail running shoes is by wearing them around the house. Walk in them for 30-45 minutes daily. This is the safest way to begin breaking in new trail running shoes.
After 2-3 days of indoor walking, take a short walk outside on a smooth surface, a paved path or gravel road works well. Keep this walk to 15-20 minutes. Your feet should feel comfortable, not sore. If you experience hot spots or pressure, stop immediately and switch back to your old shoes.
By the end of week one, you can attempt a very short, easy run. Start with 1-2 miles on flat, familiar terrain. Run slowly. Keep your effort level low. The goal is mileage, not speed. Your feet are learning how the shoe responds to impact.
Week 2-3: Increasing Mileage on Familiar Terrain
In week two, increase your running distance by no more than 10-15% per run. If you ran 2 miles in week one, run 2.5 miles in week two. Keep runs on terrain you know well. Avoid technical trails, steep descents, and rocky sections.
By week three, you can gradually introduce slightly more challenging terrain. Add one run per week on a trail with moderate elevation or light technical features. Keep your other runs on easy, familiar ground. This mixed approach lets your feet adapt to varied terrain without overwhelming them.
Watch for hot spots during these runs. Hot spots are areas of pressure or friction that feel uncomfortable but haven't yet blistered. Identifying hot spots early prevents blisters from developing.
Preventing Blisters on Trail Runs During Break-In
Blisters are the biggest threat during break-in. They form when friction causes the outer layer of skin to separate from the layers below. Sweat, heat, and movement all fuel blister formation. Prevention is far easier than treatment.
Sock Selection and Moisture Management
The right socks make an enormous difference. Cotton socks absorb sweat and hold moisture against your skin. That moisture softens skin and increases friction. Avoid cotton entirely during break-in.
Choose socks made from moisture-wicking materials. Merino wool, synthetic blends, and technical fibers pull sweat away from your skin and dry quickly. Moisture management is critical.
Sock thickness matters too. Thinner socks compress less and let you feel the shoe's fit more clearly. Thicker socks provide extra cushioning but can mask fit problems. For break-in, choose a medium-weight sock that balances cushioning and feedback.
Change your socks if they become damp during a run. Carry a spare pair if you're running for more than an hour. Dry feet are happy feet.
RockResist Trail Running Sock Bundle, 3 →
Identifying and Treating Hot Spots
Pay attention to pressure points during your first few runs. A hot spot feels like localized heat or mild irritation. It's not yet painful. Catching it at this stage prevents blisters.
Common hot spots during break-in appear at:
- The heel counter (back of the shoe where it cups your heel)
- The toe box (around your toes, especially the pinky toe side)
- The arch (inside of the foot along the midsole)
- The collar (top of the shoe where it meets your ankle)
If you feel a hot spot forming, stop and assess. Check for wrinkles in your sock. Adjust your lacing. If the problem persists, switch to your old shoes for that run. Don't push through pain during break-in.
After a run, inspect your feet. Look for red areas, blisters, or skin breakdown. Small blisters can be drained with a sterile needle and covered with a blister bandage. Larger blisters need rest and protection. If a blister develops, wear your old shoes for the next 2-3 runs to let your feet heal.
Best Socks for Trail Running Break-In
Sock choice during break-in is non-negotiable. Your socks are your first defense against blisters and discomfort. The RockResist Trail Running Sock Bundle delivers exactly what break-in requires: moisture management, debris protection, and secure fit.
The RockResist GEN1 socks feature an integrated barrier that blocks dirt, sand, and small trail debris at the shoe collar. During break-in, this barrier keeps grit out of your shoe, reducing friction and irritation. You can wear the barrier up for loose terrain or tuck it down for a lower-profile fit depending on your preference.

The secure, non-slip construction keeps the sock in place during movement. Sock slippage causes friction. Friction causes blisters. RockResist socks stay put. Added heel material reduces friction at the collar, a critical area during break-in when the heel counter is still stiff.
The RockResist Trail Running Sock Bundle at $58.48 gives you three pairs, a 25% savings versus buying individually. Every bundle includes a bonus RockResist Wrist Band at no extra charge. For break-in, having multiple pairs means you can rotate socks and always have a dry, clean pair ready.
Lacing Techniques and Fit Adjustments for Comfort
How you lace your shoes changes how they feel on your foot. Improper lacing creates pressure points. Proper lacing distributes pressure evenly and locks your heel in place.
For break-in, use a standard crisscross lacing pattern but keep laces slightly loose through the midfoot. This approach prevents excessive pressure on the arch while maintaining heel security. Your heel should not slip, but your midfoot should have room to flex.
If your heel slips, try heel-lock lacing. Skip the last eyelet on each side. Instead, thread the lace through the top eyelet, then cross it diagonally to the opposite top eyelet before tying. This creates a loop that locks your heel down without over-tightening the midfoot.
For a high-volume foot or swelling during runs, try a wider lacing pattern.
Testing on Varied Terrain and Technical Trails
Once you've completed 2-3 weeks of gradual break-in on easy terrain, your shoes are ready for more challenging conditions. But introduce technical terrain slowly.
Troubleshooting Persistent Discomfort During Break-In
Sometimes discomfort doesn't resolve with standard break-in methods. Persistent hot spots, arch pain, or heel irritation need troubleshooting.
Frequently Asked Questions
How long does it take to break in new trail running shoes?
Most runners need 20-50 miles to fully break in trail running shoes, typically spanning 2-4 weeks of gradual use. The exact timeline depends on shoe construction, your foot shape, and how aggressively you increase mileage. Start with short walks and easy runs in week one, then gradually add distance. Pay attention to pressure points and hot spots, these signal areas needing more adaptation time. Rotating with older shoes during break-in reduces injury risk.
Can I prevent blisters on trail runs while breaking in new shoes?
Yes. Blister prevention during break-in relies on three factors: moisture management, friction reduction, and proper sock choice. High-quality trail running socks with moisture-wicking fibers keep feet dry, reducing friction that causes blisters. The RockResist Trail Running Sock Bundle includes reinforced heel material to reduce collar friction, a common blister source. Identify hot spots early by monitoring pressure areas during short runs, then adjust lacing or add padding before blisters form.
What makes the best socks for trail running during shoe break-in?
The best socks for trail running combine moisture management, cushioning, and debris protection. Look for socks with moisture-wicking fibers to keep sweat away from skin, reinforced heel and toe areas to reduce friction, and secure fit to prevent slipping inside the shoe. RockResist GEN1 Trail Running Socks feature an integrated debris-blocking barrier that keeps grit out while offering added heel material for friction reduction, critical during break-in when feet are most vulnerable to irritation.
Should I rotate my new trail shoes with old ones during break-in?
Yes, rotating new shoes with proven footwear during break-in significantly reduces injury risk and discomfort. Spend 3-4 days in new shoes, then return to your established shoes for 2-3 days. This pattern allows your feet to adapt gradually while giving the midsole cushioning time to compress and settle. Alternating also lets you identify whether discomfort comes from the new shoe or foot fatigue, helping you troubleshoot fit issues more effectively.