
Last Updated: November 2, 2026
Quick Summary
You can toughen feet for hiking by pairing a four-to-six-week progressive walking plan with one gentle skin-hardening method, such as strong black tea soaks, rather than stacking harsh treatments. Stop all hardening five to seven days before your hike and switch to moisturizing so skin is resilient, not brittle.
- Start preparing four to six weeks out with 30- to 45-minute boot walks three times a week.
- Pick one hardening method, not three, and test it on a small area for 48 hours.
- Treat hot spots the moment skin feels warm and raw by stopping, drying, and covering.
- Skip toughening entirely if you have diabetes, poor circulation, or nerve damage in your feet.
- Change socks before they soak and tape hot spots early to protect skin on the trail.
Table of Contents
- How to Toughen Feet for Hiking: What Actually Works
- How to Prepare Your Feet for a Long Hike
- Skin Toughening Methods: Tannic Acid, Tea Soaks, and Surgical Spirit
- How to Prevent Blisters While Hiking
- How to Stop Feet Sliding Forward in Walking Boots
- Footwear and Sock Troubleshooting by Symptom
- When Toughening Is Not the Right Solution
- Shop RockResist Trail Socks and Build Your Foot Care Kit
- Frequently Asked Questions
How to Toughen Feet for Hiking: What Actually Works
You can toughen feet for hiking, but not by walking until they bleed. The real goal is thicker, calmer skin plus less friction inside the boot.
Most hikers blame soft feet for their blisters. Skin condition is only part of the story.
Below, we show you exactly how to toughen feet for hiking without wrecking them, plus a simple troubleshooting list for the trail.
Skin Thickness vs. Friction: Two Different Problems
Skin thickness is how much callus your feet build over time. Friction is the rubbing that happens between skin, sock, and boot on every step.
Thick skin helps but does not save you from a bad fit. A hiker with tough soles and a loose heel can still blister in an hour, while softer skin with a dialed-in setup often finishes clean.
Here is the split we use:
- Skin problem: thin, damp, or freshly scrubbed skin that tears easily
- Friction problem: movement inside the boot, seams that rub, socks that bunch
- Moisture problem: sweat that softens skin and speeds up damage
How to Prepare Your Feet for a Long Hike
Start at least four to six weeks out. Build distance slowly, toughen skin gently, and lock in your boot and sock combo before the big day.
A Progressive Conditioning Plan
Time on your feet is the base layer. Skin treatments are the top coat. Do both, and give your feet rest days to recover.
- Weeks 1-2: Short walks in your hiking boots, 30 to 45 minutes, three times a week. Keep socks dry and change them if they get damp.
- Weeks 3-4: Add one longer walk each week. Increase distance by a small step, not a jump. Wear the socks and boots you plan to race in.
- Weeks 5-6: Do one long back-to-back weekend. Two moderate days in a row teaches your feet more than one big day.
- Final week: Cut volume. Let skin recover. Do not try new boots or new socks now.
Track how your feet feel, not just the miles. Sore spots that fade are fine. Hot spots that keep coming back need a fix, not more grit.
For a deeper week-by-week version of this approach, see our guide to toughen feet for ultramarathons.
Skin Toughening Methods: Tannic Acid, Tea Soaks, and Surgical Spirit
Tea soaks and surgical spirit are the two methods hikers ask about most. Both can harden skin, and both can backfire if you overdo them. The useful question is not which one works but which fits your skin, timeline, and risk tolerance.
Some hikers try tea soaks or surgical spirit to harden skin, and gradual barefoot time builds callus through controlled load. Each approach works differently, so they are not interchangeable.
What the Evidence Says About Each Method
Treat these methods as low-cost experiments on your own feet, run well before a big hike, and stop at the first sign of cracking or irritation.
A practical comparison:
| Method | Mechanism | Typical protocol | Main risk | Best for |
|---|---|---|---|---|
| Strong black tea soak | Tannins bind and firm the outer skin layer over weeks | 10-15 minutes, 2-3 times per week, starting 4-6 weeks out; pat dry, do not scrub | Staining, drying and cracking if overused | Hikers who want a gentle, low-risk routine |
| Surgical spirit (rubbing alcohol) | Defats and dries the surface, which feels tougher | Apply sparingly to callus-prone areas only, 2-3 times per week at most; never on broken skin | Cracking, irritation, stinging | Short-term hardening of specific hot-spot areas, used sparingly |
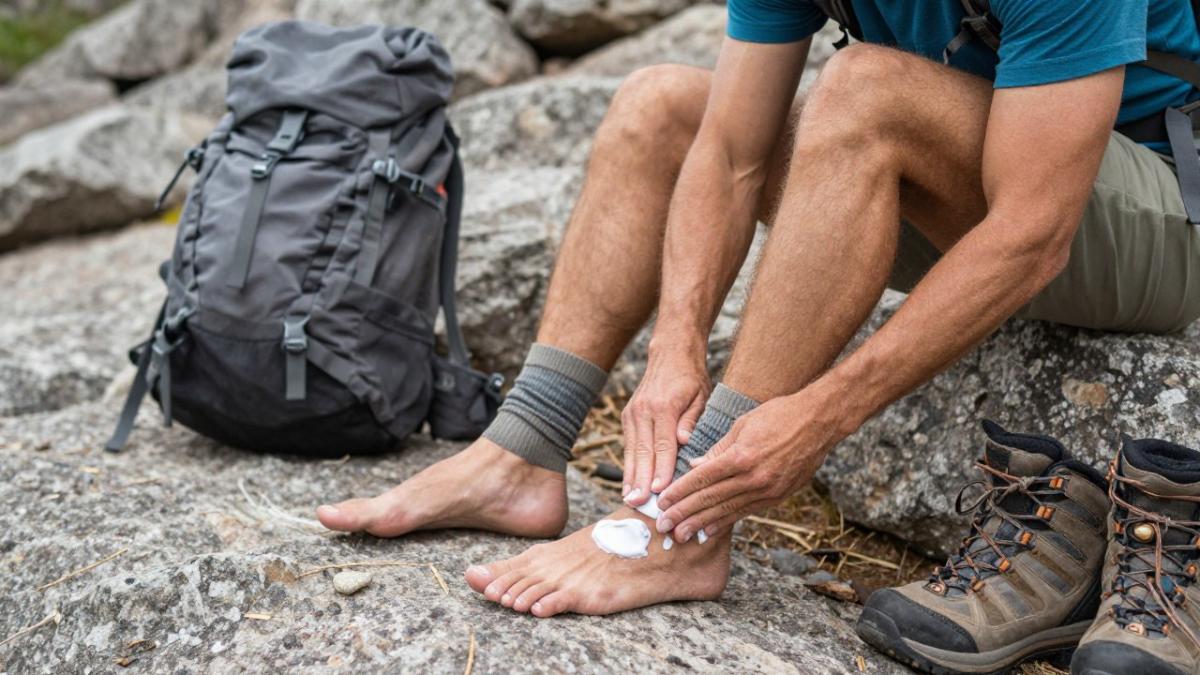
| Gradual barefoot walking | Builds natural callus and foot strength through controlled load | 5-10 minutes on smooth, safe surfaces, 2-3 times per week, progressing slowly | Bruising, cuts, or stone bruises on rough ground | Building foot and ankle strength alongside skin |
| Foot cream with glycerine or shea butter | Softens and protects; supports recovery | Thin layer on rest days and after hikes; avoid over-softening callus right before a big day | None if used in moderation | Recovery days and dry, cracked skin |
Gradual, gentle approaches are generally the safer long game, and overusing harsh agents such as surgical spirit can cause cracking that opens the skin to damage.
Watch out: if skin starts to sting, flake, or split after a soak or alcohol application, stop for at least a week and switch to a moisturizing recovery routine.
How to Run a Safe Toughening Cycle
A toughening cycle is a short, structured block you run before a hike, not a permanent habit. A common pattern is four to six weeks of gentle, twice-weekly treatments paired with progressive walking, followed by a taper week where you stop all hardening and let skin settle.
- Pick one method, not three. Stacking tea soaks, alcohol, and barefoot time in the same week is how skin cracks.
- Test on a small area first. Apply to one heel or the ball of one foot and wait 48 hours before treating the rest.
- Pair treatment with load. Skin hardens in response to controlled stress, so combine treatments with the progressive walking plan above.
- Taper before the hike. Stop hardening treatments 5-7 days out and switch to moisturizing so skin is resilient, not brittle.
- Log what happens. Note cracking, stinging, or improvement so you know whether to repeat the method next season.
For guidance on skin care from a medical standpoint, the American Podiatric Medical Association publishes plain-language foot health advice worth reading before you start any hardening routine.
How to Prevent Blisters While Hiking
Preventing blisters generally comes down to keeping skin dry, reducing friction, and catching hot spots early. The part most guides skip is what to do in the sixty seconds after you feel a hot spot.
Here is the short version:
RockResist GEN1 Trail Running Socks, Debris-Blocking Low Cut →
- Dry feet first. Change socks at lunch. Damp skin tears far faster than dry skin.
- Fix the fit. A heel that lifts is a blister waiting to happen. Lace lock the ankle.
- Act on hot spots. The moment skin feels warm and raw, stop and cover it.
Tape and dressings do real work here. Leukotape and moleskin are commonly used for this purpose. Trim toenails straight across and keep them short (Ingrown Toenails).
The On-Trail Hot Spot Protocol
A hot spot is a warning, not a blister yet. Treat it as a stop-and-fix moment, not a grit-your-teeth moment. Rehearse the sequence below before your hike so it is automatic on the trail.
- Stop at the first warm, raw, or stinging sensation. Do not wait for it to become painful. Pain means damage is already happening.
- Take off the boot and sock and dry the area. Blot, do not rub. Rubbing fresh hot-spot skin is how it turns into an open blister.
- Inspect for the cause. Look for grit, a sock seam, a bunched liner, or a lace that has gone slack. Fix the cause before you cover the symptom.
- Apply a low-friction dressing. Leukotape or moleskin cut slightly larger than the hot spot, applied to clean, dry skin with no wrinkles. A wrinkle becomes a new rub point.
- Re-check at the next break. If the dressing has rolled or the hot spot is still growing, stop and redo it. A dressing that has shifted is worse than none.
- Log the location. A hot spot that keeps returning in the same place is a fit or lacing problem, not a skin problem. Fix it before the next hike.
Watch out: never drain a blister on the trail with a dirty needle or knife. If a blister has already formed and is intact, pad around it and keep walking.
Symptom-to-Cause Quick Map
Blisters often trace back to a few common causes. Match the symptom to the likely fix before you reach for tape.
- Hot spot on the heel: heel lift. Re-lace with a heel lock and check sock fit.
- Hot spot on the toes: boot too short or laces too loose on descents. Try a thinner sock or a longer boot.
- Blisters between toes: toes rubbing together. Toe socks or a light coating of cream can reduce it.
For the full step-by-step version, read our guide on how to prevent blisters on long trail runs.
How to Stop Feet Sliding Forward in Walking Boots
Feet slide forward when the heel is not locked down. The fix is lacing and sock fit, not a tighter boot overall. A boot that is tight everywhere still lets the heel lift if the ankle is loose.
Try this sequence:
- Lace the lower boot snug, not tight.
- At the ankle, use a heel-lock or runner's loop.
- Cinch the top eyelets firmly.
- Walk downhill. If the toes still jam, the boot may be too long.
Socks matter too. A sock that bunches or slips inside the shoe adds movement. If slippage is your issue, this guide on how to stop socks from slipping inside shoes covers the sock side in detail.
Footwear and Sock Troubleshooting by Symptom
- Hot spot on the heel: heel lift. Re-lace with a heel lock and check sock fit.
- Hot spot on the toes: boot too short or laces too loose on descents. Try a thinner sock or a longer boot.
- Soggy feet after a few hours: sweat plus a sock that holds moisture. Change socks and consider a liner.
If sweat is your main problem, our breakdown of how to stop foot sweat hiking lists methods that hold up on long days.
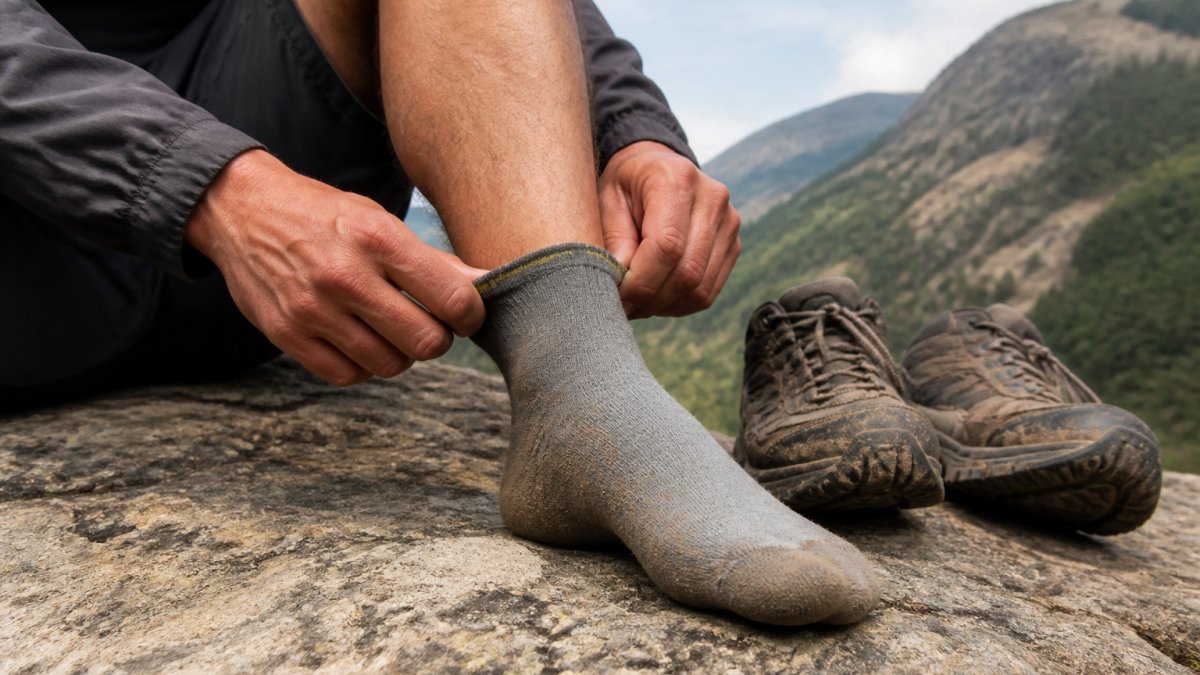
RockResist GEN1 low-cut socks are one option for keeping debris out. Their integrated barrier helps block dirt, sand, and small trail debris from entering at the shoe collar and can be worn up for loose terrain or tucked in for a lower-profile look.
When Toughening Is Not the Right Solution
Some feet should not be toughened at all. The CDC's guidance on diabetes and foot care explains why small injuries on these feet need extra care.
Watch out: pushing through pain to "toughen up" is how minor hot spots turn into open wounds. Pain is information, not weakness.
Also skip toughening if:
- Skin is already cracked, bleeding, or infected
- You have an active blister that has not healed
- A doctor has told you to protect your feet
For everyone else, toughening is a slow build. It is not a test of willpower.
Shop RockResist Trail Socks and Build Your Foot Care Kit
A foot care kit does not need much: dry socks, tape, a small cream, and nail clippers. The sock is the piece you wear every mile, so it deserves the most thought.
You can view RockResist socks and sizing to check the fit before you commit. Sizing runs in three unisex bands, so check the chart against your usual shoe size and measure if you are between sizes.

Build the rest of the kit around three habits: change socks before they soak, tape hot spots early, and give skin rest days. Do that for a month before your hike, and your feet will show up ready.
Frequently Asked Questions
How long does it take to toughen feet for hiking?
Most hikers see meaningful skin conditioning in three to four weeks of consistent training walks, starting with short distances on easy terrain and adding mileage gradually. Skin adapts slowly, so rushing the process often causes blisters or sore spots that set you back. Pair training walks with proper sock and boot fit, and give hot spots time to settle before your next long outing. If you have a big hike coming up, start at least a month out.
Should you use surgical spirit to toughen your feet?
Surgical spirit is a traditional method that dries and hardens skin, but it can also strip natural oils and cause cracking, especially on sensitive skin. If you try it, apply sparingly to the soles and heels a few times a week and stop at the first sign of irritation. Gradual mileage and moisture management are a common alternative approach. Talk to a pharmacist or doctor before using it if you have diabetes or circulation problems.
How do you prevent blisters on a long hike?
Blisters form from friction, moisture, and pressure, so address all three. Wear well-fitted boots broken in before the hike, choose socks that manage moisture and stay in place, and stop to treat hot spots the moment you feel them. Tape or moleskin over a hot spot may help reduce friction before a blister forms. Trim toenails straight across and keep feet dry with sock changes on multi-day trips. RockResist GEN1 socks add a debris-blocking barrier at the shoe collar to help keep grit out.
How can I stop my feet from sliding forward in hiking boots?
Forward sliding usually means the boot is too loose around the midfoot or the lacing is uneven. Use a heel-lock lacing pattern, tighten the midfoot section more than the toe box, and check that your heel stays put when you walk uphill. Socks that stay in place also reduce sliding. If sliding continues, the boot may be the wrong volume or length for your foot, so try a half size or a different model before your next long hike.
Your feet take the beating on every hike, so give them gear that holds up. RockResist GEN1 socks pair a debris-blocking barrier with a secure, non-slip fit and two wear options for trail and road miles. Get started with RockResist and build a foot care routine that keeps you moving on the roughest ground.
