
Table of Contents
- Why Foot Irritation Happens on the Trail
- How to Prevent Blisters Trail Running and Hiking
- How to Lace Hiking Boots for Comfort and Blister Prevention
- Treating Hot Spots on Feet While Hiking
- Manage Moisture and Sweat During Long Hikes
- Toenail Maintenance Before and After Hiking
- Post-Hike Recovery Protocols for Foot Health
- Conclusion
Last Updated: August 30, 2026
Why Foot Irritation Happens on the Trail
Foot irritation during hiking isn't random. It's the result of three forces working against you simultaneously: friction, moisture, and pressure. Understanding what causes the problem is the first step toward preventing it.
Friction occurs where your foot moves inside your shoe. Every step creates micro-movements between skin and fabric. Over miles, these tiny abrasions compound into blisters. Moisture amplifies this damage. Sweat creates a softer outer layer of skin that tears more easily under friction. Add heat, and the skin becomes even more vulnerable. Pressure points, the heel, the ball of the foot, the sides of the toes, concentrate force in small areas. When all three conditions align, blisters and hot spots develop fast.
The terrain itself plays a role. Rocky, technical trails force your foot to shift and adjust constantly. Loose gravel and debris work their way into your shoe, creating additional friction points. Sand and dirt can lodge between your foot and sock, acting like sandpaper with every step.
Proper sock selection, boot fit, lacing technique, and moisture management prevent the conditions that create irritation in the first place.
How to Prevent Blisters Trail Running and Hiking
Preventing blisters requires a multi-layered approach. No single solution works alone. Instead, you need to address friction, moisture, and pressure simultaneously through gear selection and technique.
Choose Moisture-Wicking Socks Built for Impact
Your socks are your first line of defense against foot irritation while hiking. The wrong choice guarantees problems. The right choice prevents them before they start.
Moisture-wicking materials pull sweat away from your skin. This keeps your foot drier and reduces the softening that makes blisters possible. Look for synthetic fibers or merino wool, both excel at managing moisture. Merino wool offers natural temperature regulation and odor resistance. Synthetic blends provide durability and faster drying.
Sock construction matters as much as material. Reinforced heel and toe areas reduce friction in high-impact zones. Cushioning in the arch and ball of the foot absorbs impact, reducing pressure concentration. Seamless toe boxes eliminate a common irritation point.
Consider socks engineered specifically for trail use. RockResist GEN1 Road & Trail Low Cut Athletic Socks feature a patented polyurethane debris barrier that prevents dirt, sand, and gravel from entering your shoe. This physical shield also reduces friction at the heel collar, one of the primary causes of blisters. The two-wear configuration allows you to customize fit based on your activity intensity.

Sock thickness affects comfort differently depending on boot fit. Thicker socks provide more cushioning but can make a snug boot feel cramped. Thinner socks offer better sensitivity but less impact protection. Most hikers find medium-weight socks optimal for long-distance trail work.
Prioritize Proper Footwear Fit and Sizing
A hiking boot that fits poorly creates irritation no matter what else you do. Fit is non-negotiable.
Your boot should feel snug around the heel and midfoot but have a thumb's width of space in the toe box. This allows your foot to move slightly without sliding. Sliding causes friction. Cramped toes create pressure points. The balance between these two is critical.
Toe box shape varies by manufacturer. Some boots have a wider forefoot; others taper more. Know your foot shape, wide, narrow, high-volume, or low-volume. Match your boot to your foot, not the other way around.
Break in boots gradually. Wear them on short hikes before committing to a long trail. Your foot will adapt slightly, and you'll identify pressure points early. Hot spots that develop during a short hike become blisters on a 15-mile day.
Size matters more than most hikers realize. Boots should be sized with hiking socks in mind. Try boots on in the afternoon when your feet are slightly swollen, the same condition they'll be in during a long hike. Many hikers size up half a size from their street shoe size to accommodate this swelling.
How to Lace Hiking Boots for Comfort and Blister Prevention
Lacing technique directly controls how your boot distributes pressure across your foot. Poor lacing creates hot spots. Proper lacing prevents them.
The standard lacing pattern works fine for casual hiking, but technical terrain demands more control. Adjust your lacing strategy based on where you experience irritation.
The Heel Lock Technique
The heel lock is a game-changer for preventing blisters. It keeps your heel from sliding forward inside the boot, eliminating one of the primary friction sources.
To execute the heel lock, lace your boot normally up to the ankle collar. At the second-to-last eyelet, thread the lace up and out through the eyelet on the same side (left lace through left eyelet, right lace through right eyelet). Then cross the laces and thread each one down through the loop you just created on the opposite side. Pull tight. This creates a mechanical lock that prevents heel movement.
The heel lock works because it anchors your heel in place without over-tightening the entire boot. Your foot can't slide forward, but circulation remains uncompromised. Test this on a short hike first to confirm the tension feels right.
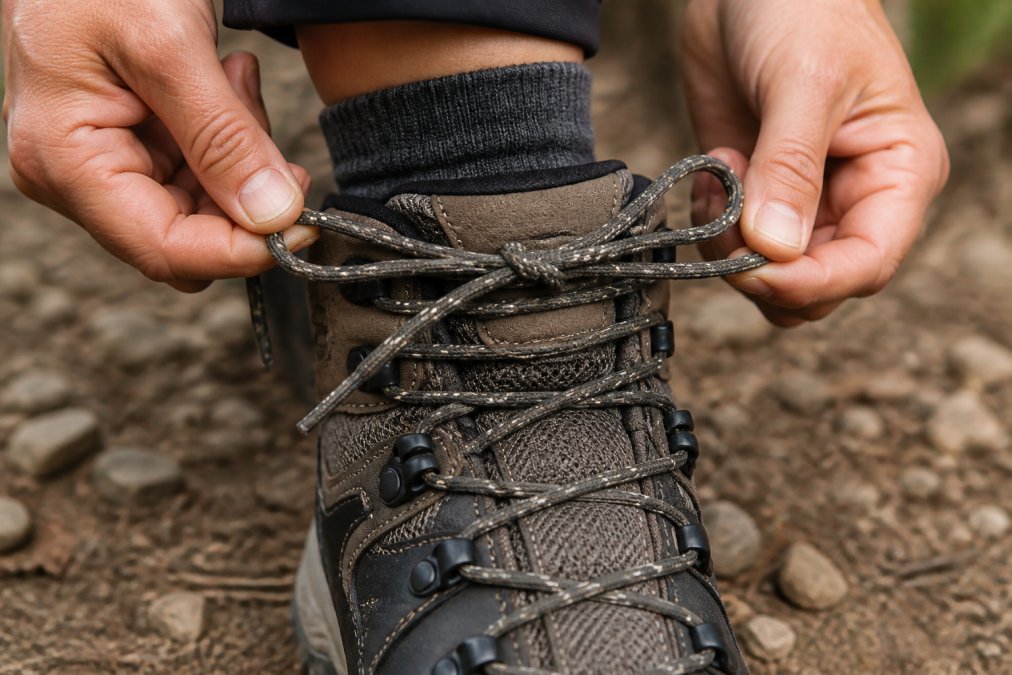
Many hikers find that the heel lock alone prevents 70% of their blister problems (peer-reviewed research). The technique is simple enough to execute on the trail if you develop heel irritation mid-hike.
Adjusting Pressure Across the Toe Box
Toe box pressure creates a different type of irritation than heel friction. Your toes press upward against the top of the boot with every step. This creates bruising and nail damage on long hikes.
Loosen the laces in the toe box area while keeping the midfoot and heel snug. This reduces downward pressure on your toes without sacrificing ankle support. The key is selective loosening, only the area where your toes sit.
If you experience metatarsal pain (pain across the ball of the foot), try lacing the midfoot tighter while loosening the area just behind your toes. This shifts pressure away from the metatarsal heads, the bony points that bear most of your weight during hiking.
Some hikers use a figure-eight lacing pattern through the midfoot for better control. This takes practice but provides excellent pressure distribution for technical terrain.
Treating Hot Spots on Feet While Hiking
A hot spot is the warning sign that a blister is forming. Treat it immediately, and you'll prevent the blister. Ignore it, and you'll be managing pain for the rest of your hike.
A hot spot feels like localized heat and minor discomfort. It hasn't broken the skin yet. This is your window to intervene.
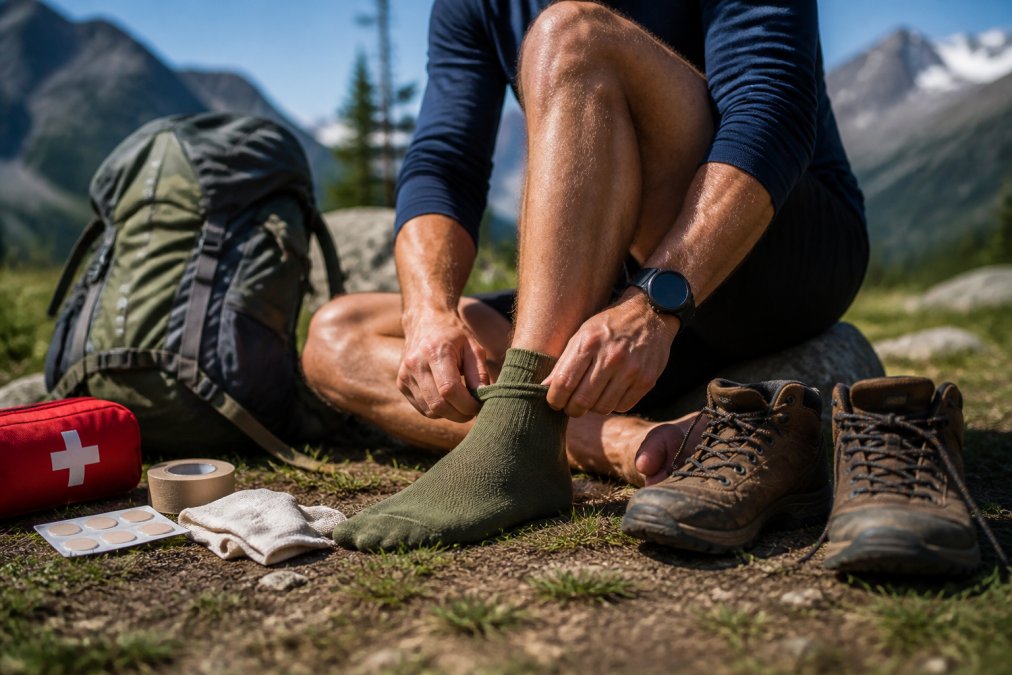
Stop and remove your boot. Dry the area thoroughly. Apply a blister prevention product, either a specialized blister prevention tape or a friction-reducing balm. These products create a slippery barrier between your skin and your sock, reducing friction at that exact spot.
If you don't have prevention tape, adjust your lacing to reduce pressure in that area. Loosen the boot slightly or redistribute the lace tension. Sometimes a simple adjustment prevents the hot spot from progressing.
Change your socks if they're damp. Moisture accelerates hot spot progression. Dry socks and a friction barrier often stop the problem completely.
Many experienced hikers carry moleskin or specialized blister tape specifically for this purpose. These products are lightweight, inexpensive, and remarkably effective. Apply them before the hot spot becomes a blister, and you'll avoid significant pain.
Manage Moisture and Sweat During Long Hikes
Moisture is the accelerant that turns minor friction into serious blisters. Managing sweat separates comfortable hikes from painful ones.
Your socks are the primary moisture management tool. They need to wick sweat away from your skin and dry quickly. Cotton socks absorb moisture and hold it against your skin, exactly what you don't want. Synthetic and merino wool socks pull moisture away, keeping your foot drier.
Ventilation matters. Breathable boots with mesh panels allow air circulation. Gaiters, protective coverings that wrap around your ankle, can help keep debris out without trapping moisture if they're designed with breathable materials.
Debris-Blocking Technology Reduces Friction
Debris inside your boot creates friction points that lead directly to blisters. Sand, gravel, and dirt work like an abrasive, wearing away at your skin with every step.
Traditional socks offer no defense against debris. It enters your boot freely and lodges between your foot and sock. RockResist GEN1 socks feature a patented polyurethane debris barrier that creates a physical shield. This barrier prevents dirt and sand from entering your shoe while also reducing friction at the heel collar.
The debris-blocking technology works because it addresses two problems simultaneously: it keeps irritating particles out, and it reduces friction in a high-blister-risk area. On rocky or sandy trails, this dual benefit makes a measurable difference in comfort.
The barrier adds minimal weight and doesn't compromise breathability. Your foot stays protected without overheating.
Toenail Maintenance Before and After Hiking
Toenail damage is often overlooked, but it's a common source of pain on long hikes. Proper maintenance before and after your hike prevents problems.
Trim your toenails 2-3 days before a long hike (aafp.org). This allows the nail bed to harden slightly. Trim them straight across and slightly shorter than your fingertips. Avoid cutting them too short, this increases the risk of ingrown nails. The goal is to prevent your toenails from pressing into the toe box and bruising.
On very long hikes (20+ miles), toenail pressure can cause bruising even with proper trimming. This happens because your foot swells during extended activity, and the toe box pressure increases. There's no perfect solution, but keeping nails trimmed short minimizes the damage.
After your hike, inspect your toenails for bruising or damage. Bruised toenails are cosmetic in the short term but can lead to complications if infected. Keep the area clean and dry. If a nail becomes loose, let it fall off naturally, don't force it. A new nail will grow in over several weeks.
Some hikers experience toenail loss after ultra-long hikes (30+ miles or more). This is usually temporary and not a sign of serious injury. The nail typically regrows without complications.
Post-Hike Recovery Protocols for Foot Health
What you do after your hike matters as much as what you do during it. Recovery protocols prevent complications and prepare your feet for the next adventure.
Soak your feet in cool water for 10-15 minutes immediately after your hike. This reduces swelling and cools any inflammation. Cool water is more effective than warm water for post-hike recovery because it constricts blood vessels and reduces swelling.
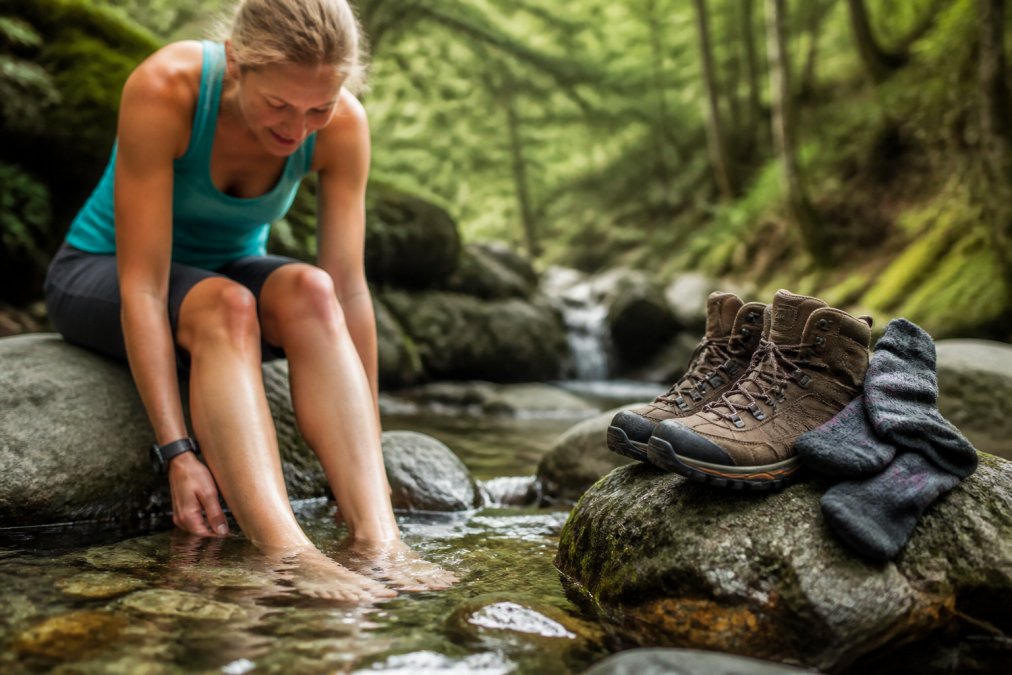
Dry your feet thoroughly afterward. Moisture left on your skin creates an environment where fungal infections can develop. Pay special attention to the spaces between your toes, these areas dry slowly and are prone to fungal growth.
Inspect your feet for blisters, hot spots, or damage. Document what happened and where. This information helps you adjust your approach for future hikes. If a blister formed, clean it gently and cover it with a sterile bandage. Don't drain it unless it's severely painful, the fluid inside provides protection while healing occurs.
Elevate your feet for 20-30 minutes if you experience significant swelling. This allows fluid to drain back toward your heart and reduces inflammation.
Wear comfortable, loose footwear for the rest of the day. Your feet need time to recover. Tight shoes or continued pressure delays healing.
If you experience persistent pain or signs of infection (increasing redness, warmth, or discharge), consult a healthcare provider. Most foot issues resolve within a few days, but infection requires professional treatment.
Many athletes use compression socks during recovery. These socks improve circulation and reduce swelling. Wear them for a few hours after your hike if you have them available.
Foot irritation while hiking is preventable. The combination of proper sock selection, correct boot fit, strategic lacing, moisture management, and post-hike recovery addresses every factor that creates blisters and hot spots. Most hikers who follow these protocols finish long hikes pain-free.
RockResist GEN1 Road & Trail Low Cut Athletic Socks are engineered specifically to prevent foot irritation during trail activities. The patented debris-blocking barrier keeps sand and gravel out while the moisture-wicking materials manage sweat. The reinforced heel and seamless toe box reduce friction in high-risk areas. Get started with the RockResist Sock Bundle and save 25% on three pairs, plus enjoy free shipping. Your feet will thank you on every trail.

Frequently Asked Questions
Q: What is the best way to prevent blisters on long hikes?
A: Prevent blisters by combining three strategies: wear moisture-wicking socks designed for impact absorption, use proper lacing techniques like the heel lock to reduce friction at pressure points, and manage moisture by choosing socks with breathability and sweat-wicking fibers. RockResist GEN1 socks feature a patented debris-blocking polyurethane barrier that reduces friction at the heel collar, one of the primary blister causes, while maintaining breathability during extended trail time.
Q: How do I know if my hiking boots fit correctly to avoid foot irritation?
A: Your boots should have about a thumb's width of space between your longest toe and the boot's end when standing. The heel should not slip, and the midfoot should feel snug without pinching. Wear the same socks you'll use on the trail when trying boots on. If your boots feel tight, they will cause hotspots and blisters over 5+ miles. Proper fit is the foundation for preventing foot irritation.
Q: Why do my feet still get blisters even with good socks?
A: Blisters form from friction, moisture, and pressure combined. Standard socks may wick moisture but fail to address friction management or debris entry. RockResist socks address all three: the debris-blocking cuff prevents dirt and gravel from creating friction inside your shoe, moisture-wicking fibers keep feet dry, and reinforced seams distribute pressure more evenly. If you're still getting blisters, check your lacing technique and boot fit, gear alone cannot compensate for poor fit or improper lacing.
Q: How should I care for my feet after a long hike to prevent lasting damage?
A: After hiking, soak your feet in cool water for 10-15 minutes to reduce swelling and inflammation, then dry thoroughly and inspect for early blisters or pressure damage. Trim toenails straight across to prevent bruising and ingrown nails. If you notice hotspots, apply a protective layer to prevent them from developing into full blisters on your next outing. Regular post-hike recovery reduces cumulative foot damage and keeps you trail-ready.
This article was written using GrandRanker