
Last Updated: November 14, 2026
Quick Summary
To prevent foot fatigue on rocky hikes, choose shoes matched to the terrain, with a secure fit and room in the toe box. Keep debris out with a suitable sock, shorten your steps on uneven ground, slow down on descents, and take a short break every hour. Build up rocky mileage gradually over several weeks.
- Match your shoe setup to the rock type, since scree, sharp rock, and slab each load the foot differently.
- Leave about a thumb's width between your longest toe and the front of the shoe.
- Take shorter steps on uneven ground so your center of mass stays over your planted foot.
- Rest every hour for a few minutes to let your feet recover.
- Build rocky mileage over six weeks, starting with 2 to 3 miles two or three times a week.
Table of Contents
- Why Rocky Trails Wear Your Feet Down Faster
- Choosing Hiking Shoes for Rocky Terrain
- Picking Hiking Socks for Rocky Trails
- How to Prevent Blisters While Hiking on Rock
- How to Prevent Foot Pain While Hiking: Pacing and Breaks
- A Progressive Conditioning Plan for Rocky Miles
- Planning Your Next Rocky Hike With the Right Gear
- Frequently Asked Questions
Why Rocky Trails Wear Your Feet Down Faster
Foot fatigue on rocky hikes builds because every step lands on an uneven surface. Your feet and lower legs make hundreds of small corrections each mile, and those corrections add up. Knowing what drives that fatigue is the first step to preventing it.
Rocky ground works your feet in ways a smooth trail does not. Your foot has to flex and stabilize on each stone, and small muscles in the arch and ankle work harder to keep you balanced. Grit and small debris also slip past loose shoe collars and rub against the skin, which adds friction and wears you down.
Fatigue on rocky hikes often comes from a few common sources:
- Constant balance corrections on uneven footing
- Friction from debris and pressure points inside the shoe
- Longer time on your feet when you slow down to pick your way across rock
Stop and check your feet as soon as something feels wrong.
Choosing Hiking Shoes for Rocky Terrain
Your shoes are the biggest factor in how your feet feel after a rocky hike, but there is no single best shoe for rock. Loose scree, sharp embedded stone, and smooth slab each load the foot differently, so match the shoe setup to the terrain you will actually walk on.
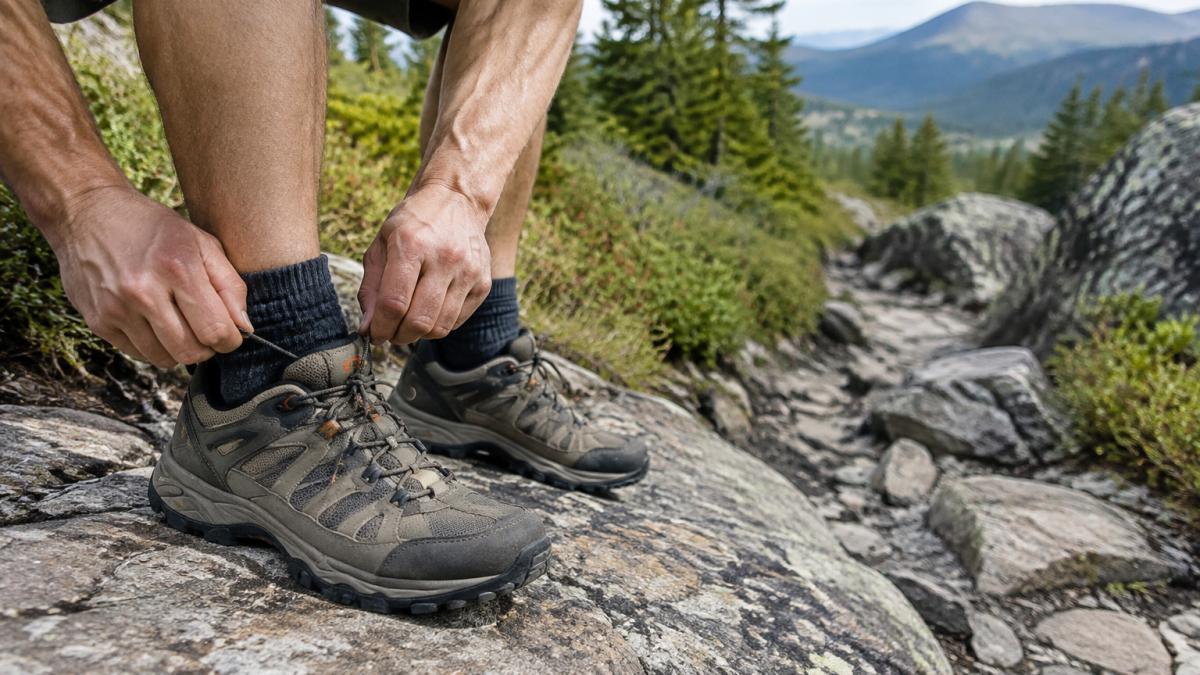
!A hiker laced into sturdy trail shoes, standing on a flat rock ledge with a rocky trail ahead
Match the setup to the rock type
- Loose scree and gravel: Prioritize a deep, sharp-edged lug pattern and a slightly softer midsole that lets the foot conform to shifting ground. A rigid platform on scree transmits every rolling stone into the arch.
- Sharp, embedded rock: Prioritize underfoot protection. A rock plate or a stiffer midsole spreads point pressure from stone edges so you are not feeling every knob through the forefoot.
- Smooth slab and slickrock: Prioritize outsole rubber compound and contact area over lug depth. Shallow, hard lugs skate on smooth wet stone, and the resulting micro-slips are what exhaust the stabilizing muscles around the ankle.
- Mixed terrain: A medium-stiff midsole with a moderate lug depth is the usual compromise. Expect it to feel slightly vague on slab and slightly harsh on sharp rock, which is the trade-off most hikers accept.
Fit, toe box, and arch support
A good fit matters more than any single feature. Your toes need room to spread, and your heel should stay locked in without rubbing.
- Toe box: Leave about a thumb's width between your longest toe and the front of the shoe. On rocky descents your foot slides forward, and a cramped toe box turns that slide into bruised toenails.
- Heel: Your heel should not lift more than slightly when you walk downhill. Lace-locking the ankle helps on steep rock.
- Arch support: Choose a shoe that matches your arch. Flat-footed hikers often need more support, while high-arched hikers need more cushioning. A shoe that fights your arch forces the foot to compensate on every unstable foothold.
Try shoes on in the afternoon, when your feet are slightly swollen from the day. Wear the socks you plan to hike in, and test them on a slanted surface or a stair edge so you can feel how the shoe behaves when your foot is not flat.
Midsole cushioning and outsole grip
The midsole absorbs the shock of each step, and the outsole gives you traction on wet or loose rock. A firmer midsole gives more stability on technical ground, while a softer one feels better on long, smoother sections. A stiffer midsole gives a firmer platform underfoot, but it can reduce ground feel when you are picking a line through talus.
Look for a lugged outsole with deep, sharp edges for dirt and scree. For more on keeping debris out of your footwear, including gaiter options, read the full guide. If your hikes are mostly slab, test the rubber on a wet curb before you commit.
The right shoe setup depends on the type of rock you will cross, as summarised below.
| Rock type | Prioritize | Trade-off |
|---|---|---|
| Loose scree and gravel | Deep, sharp-edged lugs and a softer midsole | Rigid platform transmits rolling stones into the arch |
| Sharp, embedded rock | Underfoot protection such as a rock plate or stiffer midsole | Reduces point pressure from stone edges |
| Smooth slab and slickrock | Outsole rubber compound and contact area | Shallow, hard lugs skate on wet stone |
| Mixed terrain | Medium-stiff midsole with moderate lug depth | Slightly vague on slab, slightly harsh on sharp rock |
Picking Hiking Socks for Rocky Trails
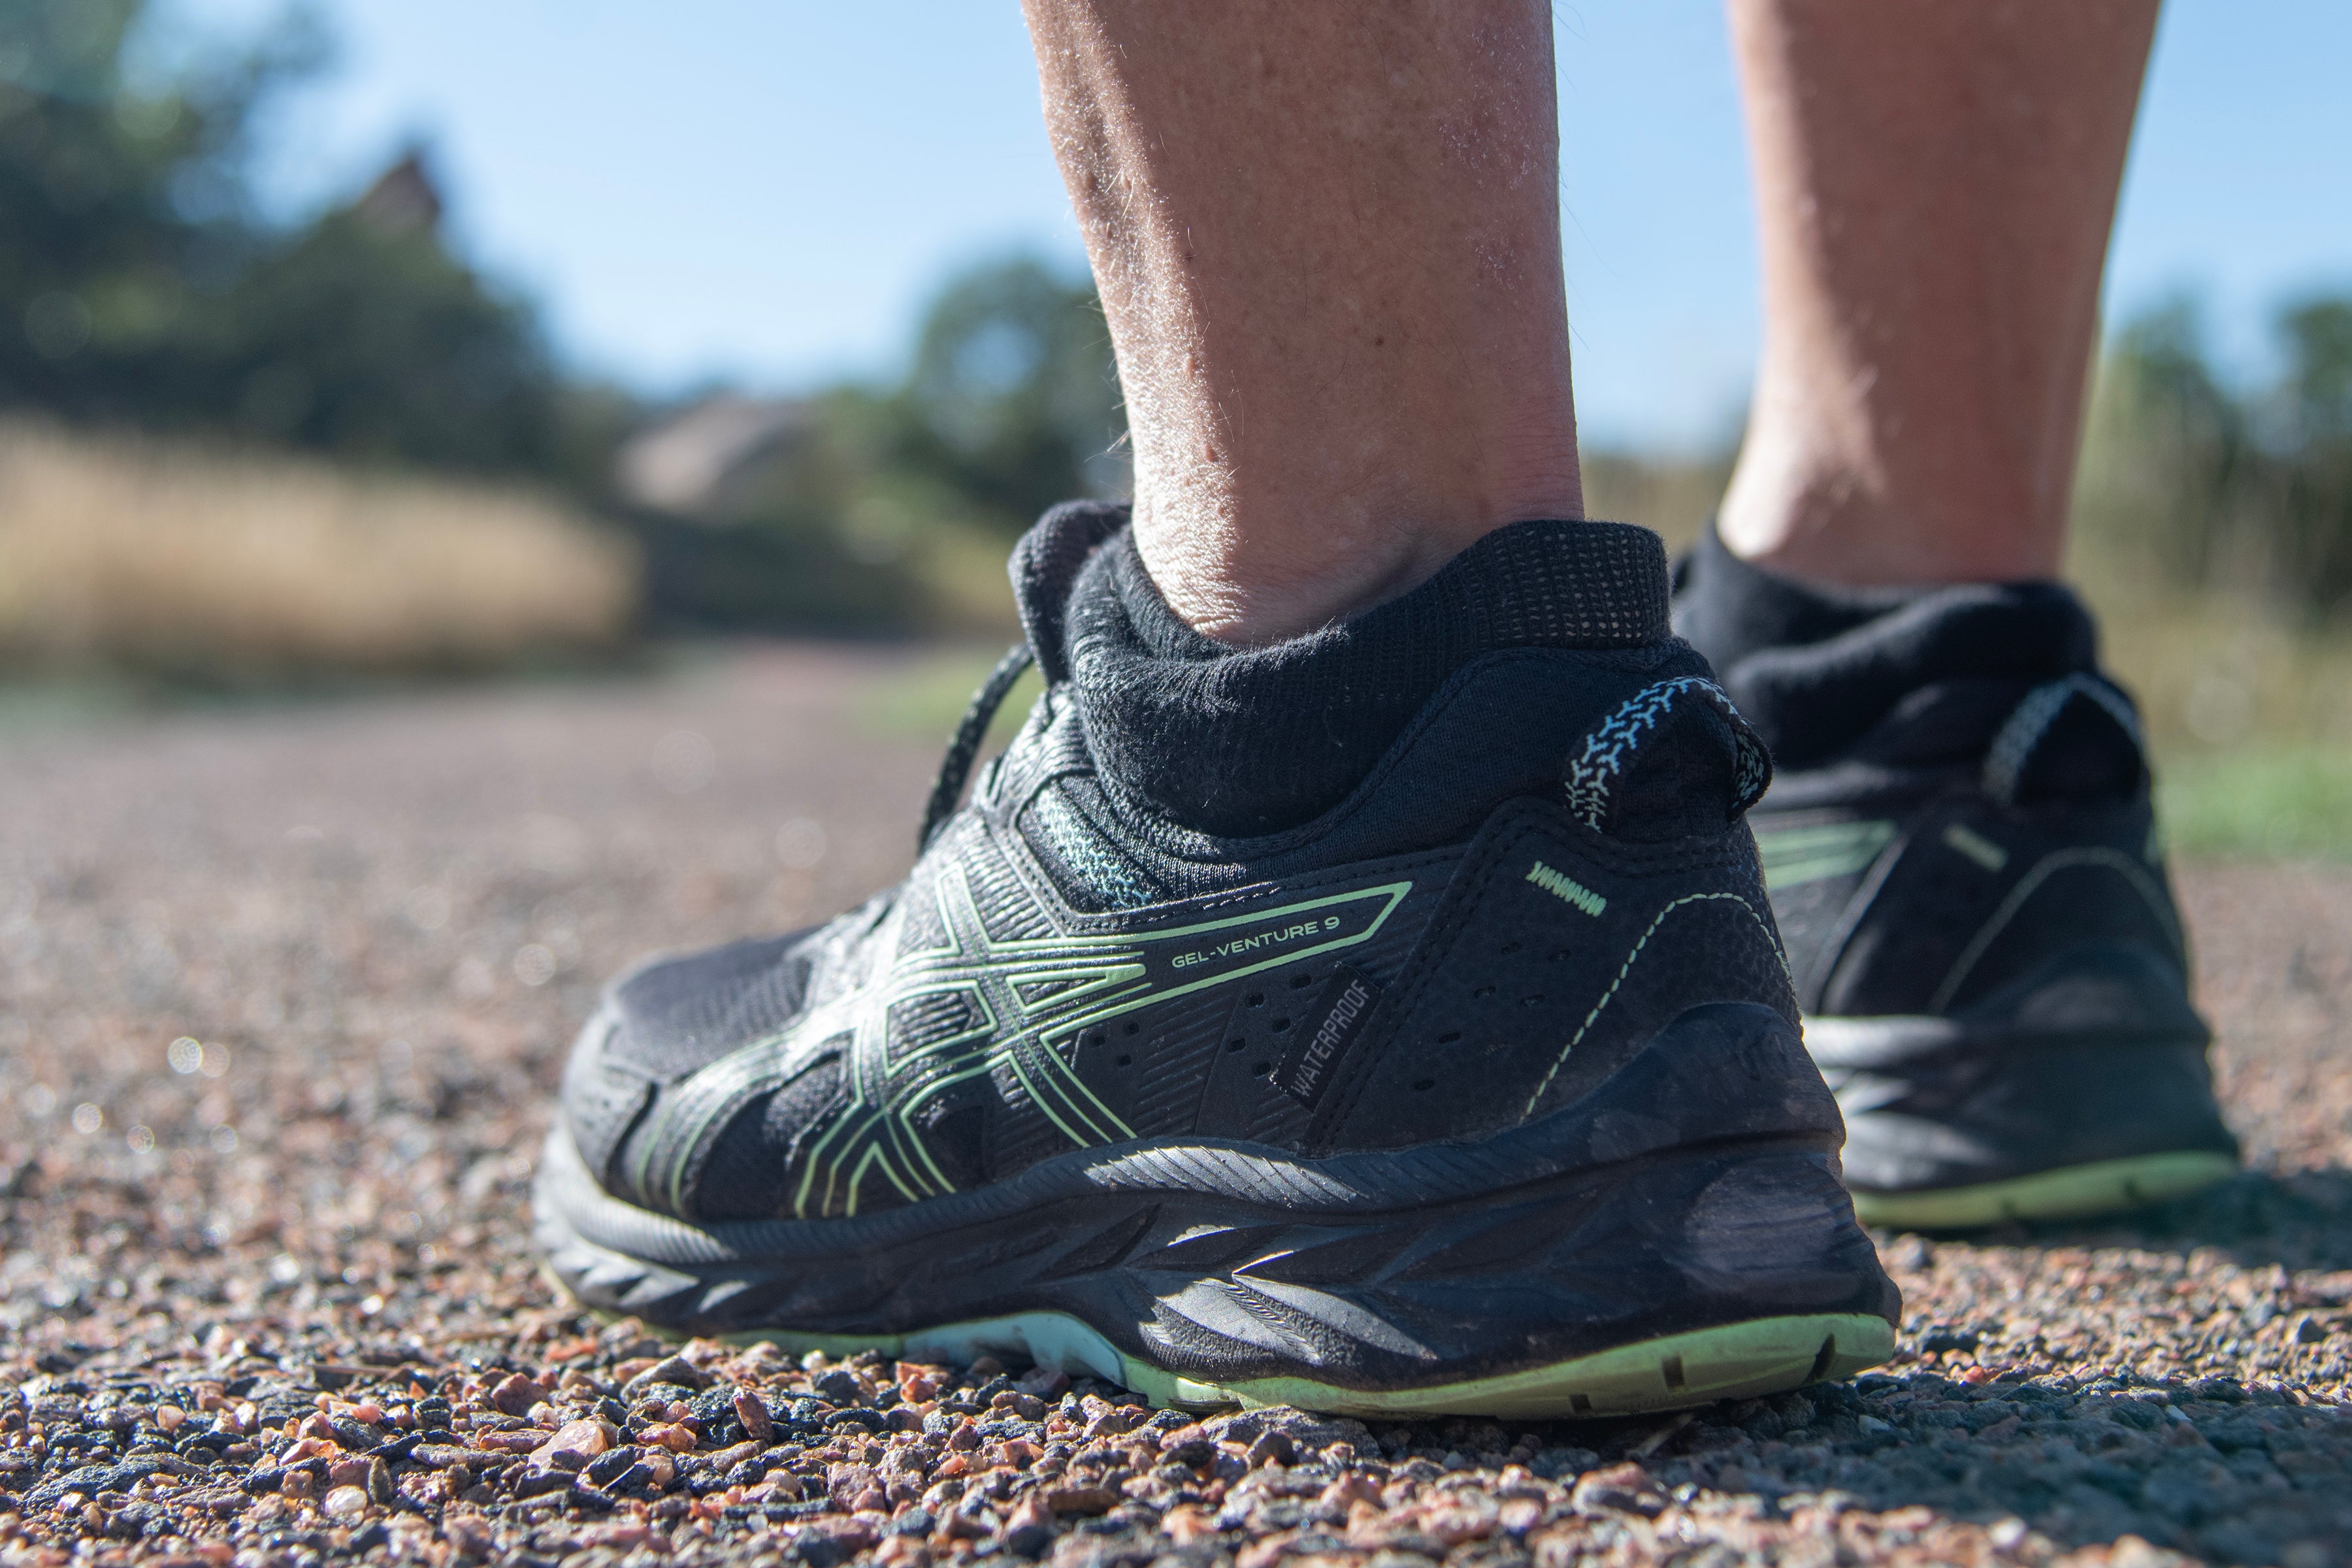
Socks are the layer between your foot and the shoe, so they play a direct role in friction. If you are comparing options for grit and stones, this buyer's guide to trail debris socks covers what to look for. A sock that bunches or lets debris in can cause blisters fast.
The RockResist GEN1 Trail Running Socks are a low-cut option. They are made from 75% cotton and 25% terylene. The integrated barrier helps block dirt, sand, and small trail debris from entering at the shoe collar, and it can be worn up for loose terrain or tucked in for a lower-profile look.
View RockResist Socks & Sizing
Before you buy, check sizing against the manufacturer's size guide at the product page.
How to Prevent Blisters While Hiking on Rock
Blisters come from friction and moisture, and rocky trails create both. To compare debris-blocking sock designs for rough terrain, see how each one handles blister risk. Prevention is easier than treatment, so start before you feel a hot spot.
- Check your fit before the hike. Loose or tight shoes cause most blisters.
- Keep debris out. Stop to shake out your shoes when grit gets in.
- Stop at the first hot spot. For step-by-step instructions, see how to use moleskin for trail running blisters. Cover it with moleskin or tape before it turns into a blister.
- Change socks if they get wet. Carry a spare pair for longer hikes.
- Break in new shoes first. Wear them on short walks before a rocky hike.
How to Prevent Foot Pain While Hiking: Pacing and Breaks
Your pace and footwork have a big effect on foot fatigue. Hiking too fast on rock forces quick corrections and drives pain up the legs, and most of that damage happens on descents and unstable footholds rather than on the flats.
Technical footwork on rocky ground
- Take shorter steps on uneven ground so your center of mass stays over your planted foot. Long strides on talus turn every landing into a balance correction.
- Place the whole foot, not the toe, on slab and embedded rock.
- Look one or two steps ahead, not at your feet. Scanning ahead lets you plan a line and reduces the stop-start hesitation that adds time on your feet.
- Keep a slight bend in the knees on descents and let the legs absorb impact instead of braking with the feet.
- Zigzag steep descents where the trail allows. Traversing reduces the per-step impact angle and spares the forefoot.
Pacing and break rhythm
- Slow down on descents, where toes press into the front of the shoe and the quadriceps brake every step.
- Rest every hour for a few minutes to let your feet recover. A short, regular break can be easier on your feet than one long stop late in the day.
- Remove your shoes during a longer break to let your feet air out and check for hot spots. Loosening laces without removing the shoe is a quick mid-hike compromise.
- Reset your lacing before a long descent. A heel-lock lacing pattern keeps the foot from sliding forward into the toe box.
On-trail symptom triage
Not all foot discomfort is ordinary fatigue. Use this to decide whether to adjust, stop, or turn around.
- Dull, symmetrical ache in the arch and calf after hours on rock is usually fatigue. Shorten your steps, take a break, and keep going if it eases.
- A single sharp hot spot that persists after you stop and adjust your sock is a friction warning. Treat it before it becomes a blister.
- Tingling, numbness, or a burning forefoot can have several causes. Loosen the laces and recheck; if it does not resolve, stop and seek medical advice.
- Sharp, localized pain over a bone (top of the foot, heel, or outside of the ankle) is not normal fatigue. Stop, remove the shoe, and do not push through it.
- Sudden pain with swelling or an inability to bear weight means end the hike and seek medical advice.
A Progressive Conditioning Plan for Rocky Miles
Build up slowly so your body adapts.
- Weeks 1-2: Hike short rocky sections, about 2 to 3 miles, two or three times a week.
- Weeks 3-4: Add a little distance each week, staying on the same type of terrain.
- Weeks 5-6: Add a longer rocky hike once a week, and include a few short downhill sections.
- Ongoing: Stretch your calves and feet after each hike, and roll your arches with a ball.
Increase your mileage gradually, no more than a small step at a time.
Planning Your Next Rocky Hike With the Right Gear
Good preparation keeps foot fatigue under control. Before your next rocky hike, check your shoes, socks, and pacing plan.
- Confirm your shoes fit with the socks you will wear.
- Pack a spare pair of socks and moleskin.
- Plan breaks every hour and a slower pace on descents.
- Start with a shorter rocky route if you are new to this terrain.
Your feet carry you through every mile, so give them the right support. Pair well-fitting shoes with a sock that suits the terrain, and take breaks before pain builds. If you want to try the RockResist GEN1 socks, View RockResist Socks & Sizing to check sizing and current details.
RockResist, elite tech that is unmatched, add a pair to your gear rotation.
Frequently Asked Questions
How do you get rid of foot fatigue after a hike?
Take your shoes and socks off for 10 to 15 minutes, elevate your feet, and gently roll the arches and calves with a massage ball or water bottle. Loosen your laces before the next climb, and rehydrate. If pain lingers for more than a few days, rest the feet and reassess your footwear and mileage before the next hike.
What shoes are best for hiking on rocky terrain?
Look for a supportive midsole that absorbs impact from repeated stepping on uneven rock, an outsole with deep, sticky lugs for grip, and a protective toe box that resists stubbing. Shoes should fit with a thumb's width of space at the toe and a secure heel. Try them on in the afternoon, when feet are slightly swollen, and wear the socks you plan to hike in.
How can I prevent blisters and hot spots on a rocky hike?
Wear a sock that fits snugly without bunching, and keep your feet dry by changing socks if they become soaked. Address hot spots at the first sign of friction by stopping to adjust your socks and laces or cover the area with tape. Walking with shorter steps on steep, rocky descents reduces the sliding that causes friction.
Can hiking poles help reduce foot fatigue?
Hiking poles are a tool some hikers use on long, rocky climbs and descents. They also improve balance on uneven ground, so you place your feet more carefully. Poles are most helpful on steep sections and on multi-day hikes with heavy packs. They do not replace proper footwear, socks, or rest breaks, so use them alongside those strategies.
